
Customer Support Chatbot for Your Website
A customer support chatbot takes the repeat questions off your inbox: opening hours, delivery and return rules, how a product works, where to find a document. It only helps if it answers from your own content and hands the conversation to a person when it reaches its limits. HolderChat is built for exactly that setup.
This page shows how to set up a support bot with HolderChat, step by step: what it learns from, how it should behave, how the handoff to your team works, and how to put it on your site with the official widget code. HolderChat is currently free; you can create an account without a credit card. You can also start from the HolderChat Guides hub. Before launch, check the five questions your website chatbot should answer from day one.
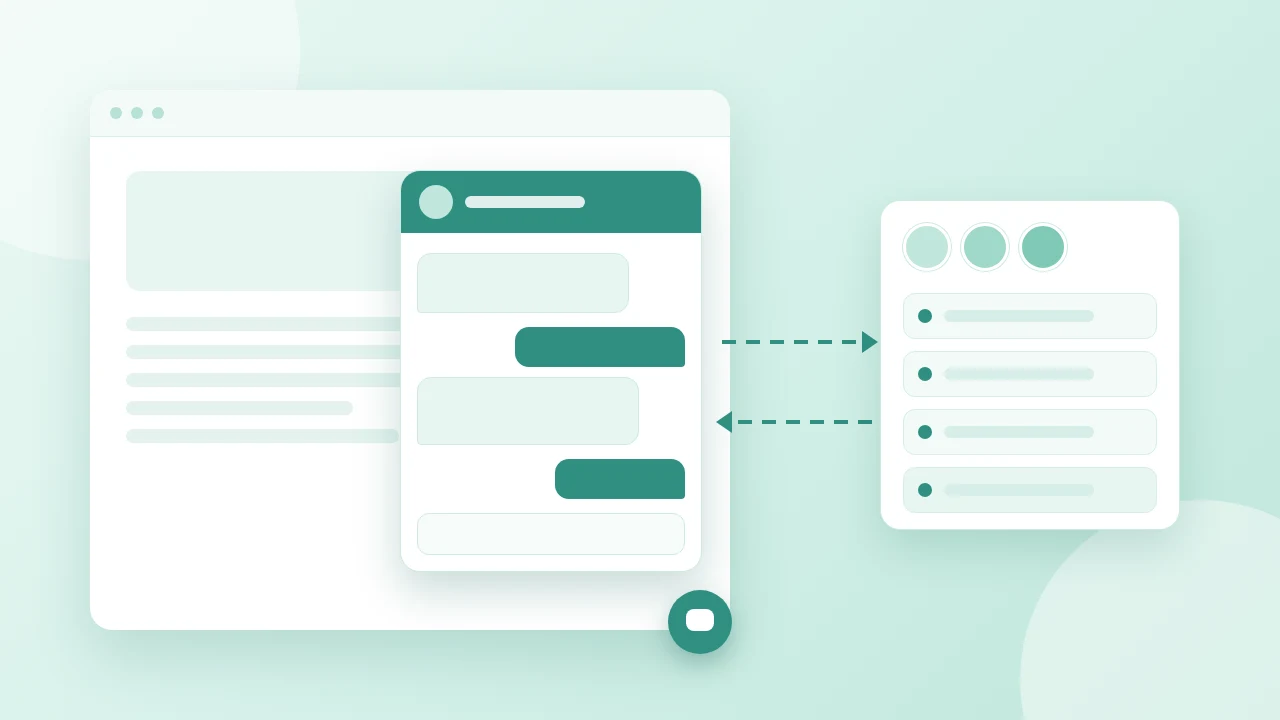
What a support chatbot should handle
Good candidates are questions that already have a written answer somewhere on your site or in your documents:
- Contact details, addresses, and opening or working hours.
- Shipping, returns, cancellation, and other policy questions.
- How-to questions covered by manuals, FAQs, or help articles.
- “Where can I find …?” questions that point to the right page.
Questions that need account access, a decision, or an exception should go to a person. Plan that path before you go live (see handoff below).
1. Give the bot your support content
In the dashboard, create a chatbot and open the Knowledge Sources tab. You can add:
- Website – enter the URL, review the menu preview of discoverable pages, and start parsing.
- Files – upload PDF, DOCX, TXT, MD, XLSX, or PPTX, for example a returns policy or a product manual.
- Extern – a JSON API endpoint for dynamic external data.
After adding or removing sources, click Rebuild Bot and wait until the status is Active. Details are in Knowledge Sources and Creating Your First Chatbot. If your site runs on WordPress, the HolderChat Connector plugin can sync selected pages and posts for you.
Fill in the Company Information tab as well: company name, email, phone, and address. The bot can use these details in answers and handoffs, and changing them does not require a rebuild. See Company Information.
2. Tell it how to behave
In Bot Behavior & Messages you set the chatbot name, the welcome text, the input placeholder, an avatar, optional working hours, and the Bot Instructions (main prompt). For a support bot, the instructions matter most. State the tone, the topics it should cover, and what to do when it does not know the answer. A simple starting point:
You are the support assistant for Example Shop. Answer only using the
provided knowledge. Keep answers short and polite. If the answer is not
in the knowledge, say so and offer to pass the question to our team.
Instructions apply on the next message without a rebuild, but they do not replace missing knowledge. More examples are in Bot Behavior and Messages.
3. Connect a human handoff
A support bot needs a way out. In the Support tab you add a second-line support channel: a Telegram group or a Microsoft Teams channel that you configure. When the bot cannot answer from its knowledge base, it can route the request there. With Telegram, your team replies in the group and the answer is delivered back to the visitor in the chat in real time. Microsoft Teams is available as a second escalation channel type.
- Open Edit chatbot → Support.
- Under Add Support Channel, select Telegram Group or Microsoft Teams and click Add.
- Complete the configuration fields for that channel and save.
- Make sure your Bot Instructions tell the bot to offer the handoff.
- Test the escalation from Test Chatbot.
The handoff needs a valid Telegram or Teams setup on your side; for Telegram, the bot must be an admin in the target group. Support channels are marked beta in the documentation, so verify each channel with a live test. See Support Channels.
4. Put the widget on your site
When the bot is Active, open Widget Appearance and copy either the script snippet or the iframe snippet, or use Dashboard → Get Code / Get Widget Code for the script tag. Paste one snippet before the closing </body> tag on every page where the chat should appear:
<script src="https://holderchat.com/dynamic/get.js?token=YOUR_TOKEN" async defer></script>The isolated iframe alternative is:
<script src="https://holderchat.com/dynamic/iframe.js?token=YOUR_TOKEN" async></script>Replace YOUR_TOKEN with the API token (company token) of that bot; the token is tied to one bot. Custom CSS and JavaScript, if you add them in Widget Appearance, apply only to the iframe embed. See Embedding the Chatbot Widget. On WordPress with the Connector, enable “Show chat widget on frontend” in HolderChat → Settings instead, and the plugin injects get.js for you. If your site uses a Content-Security-Policy, allow scripts from holderchat.com and the wss:// WebSocket connection. The full reference is Embedding the Chatbot Widget, and the short version lives on Embed Bot.
5. Test before visitors do
Use Test Chatbot from the dashboard and run through the support cases you actually expect:
- The welcome text and bot name are correct.
- A question from your own policy page gets the right answer.
- An unrelated question gets a graceful fallback, not an invented answer.
- The bot does not make up prices or policies.
- The handoff reaches your Telegram group or Teams channel.
- The widget works on a phone.
The checklist comes from Testing Your Chatbot.
6. Review conversations and improve
The Conversation History tab lists past visitor chats. You can search by date or message text and open the full thread. Questions the bot could not answer show you what is missing from your knowledge sources: add the page or document, rebuild, and test again. See Conversation History.
Two settings are worth a look for support use:
- Privacy Settings – anonymize customer data in visitor messages before they are sent to OpenAI, either with placeholders or with replacement data. This reduces risk but is not legal advice. See Privacy Settings.
- Languages – add language packs and choose whether the widget follows the visitor’s browser language or always starts in your default language. See Languages.
Frequently asked questions
Can the support chatbot pass a conversation to a person?
Yes. Add a Telegram group or Microsoft Teams channel in the Support tab and tell the bot to offer the handoff in its Bot Instructions. With a Telegram group, your team replies there and the answer appears in the visitor’s chat. Details: Support Channels.
What does the bot use to answer support questions?
The knowledge sources you add (websites, files, or an extern JSON API), the Company Information tab, and your Bot Instructions. Changes to knowledge sources need Rebuild Bot.
How long until the bot is ready?
The documentation says typically 5–15 minutes for small sites; large sites take longer. Wait until the status is Active before embedding.
Do I need to change my website code?
You add one script tag from Get Widget Code. On WordPress you can use the Connector plugin instead and switch the widget on in its settings.
Is HolderChat free?
Yes, HolderChat is currently free, and no credit card is needed. See Free access.
Set up your support chatbot
Create an account, add your support content, connect a handoff channel, and embed the widget once the bot is Active. For a broader overview, read AI Chatbot for Your Website.